Clevr IR Blaster - 3 x IR Emitter LEDs

Clevr IR Blaster - 3 x IR Emitter LEDs - Main View
Thumbnail 1 Thumbnail 2

Your Universal Remote is Here

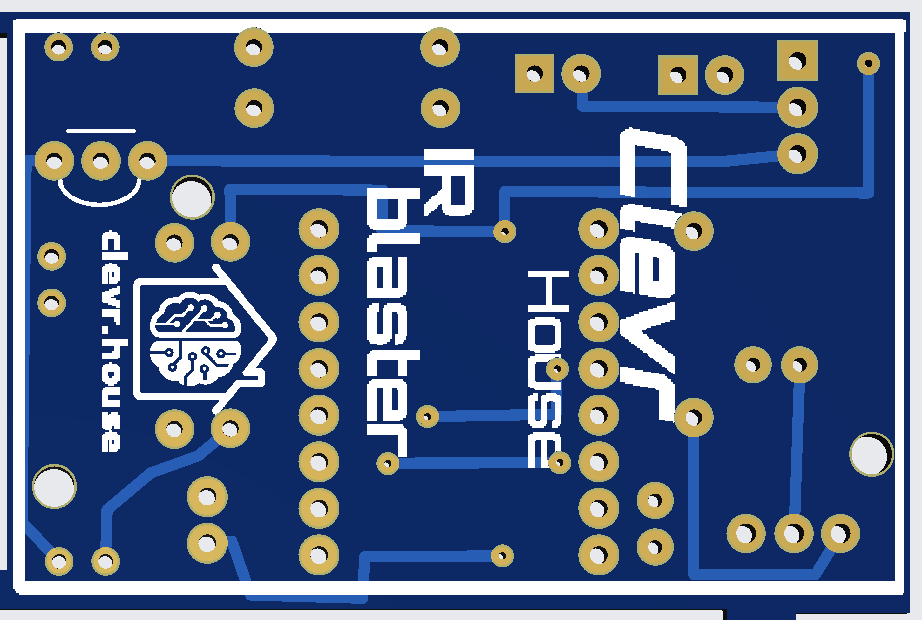
Tired of the remote control chaos on your coffee table? The constant search for the right remote for the TV, the soundbar, the AC unit, or the streaming box ends now. This project empowers you to build a single, intelligent IR Blaster that consolidates all your infrared devices into one seamless smart home experience.

Imagine a Movie Night scene that dims the lights, turns on your TV, selects the correct input, powers the receiver, and sets the volume—one tap or a simple voice command. Place a unit in each room and bring “dumb” appliances into your smart home—with reliable, room-filling IR coverage.

This product combines a professional-grade design with a clean integration path: capture codes, build automations, and control your home the way you want.


Highlights

  • All-in-one control: Replace piles of remotes with scenes, automations, and voice.

  • Learn + replay: Capture IR codes from existing remotes and reuse them in Home Assistant.

  • Designed for range & reliability: High-efficiency IR output stage and robust power filtering.

  • Built on ESP32-C3: Fast, secure, and OTA-friendly; engineered to avoid strap-pin gotchas.

  • Ready for scale: Small footprint; drop one in each room for dependable line-of-sight coverage.


How It Works (High-Level)

  • Controller: An ESP32-C3 module provides Wi-Fi connectivity and local automation logic with ESPHome/Home Assistant (firmware available separately).

  • IR Emitter Stage: A dedicated low-side transistor switch drives multiple high-power 940 nm IR LEDs with per-LED current limiting for balanced output and long range.

  • IR Receiver: An integrated 38 kHz-tuned IR receiver module filters ambient light and delivers clean digital codes for learning.

  • Power Integrity: Separate 5 V and 3.3 V rails with bulk + ceramic decoupling tame burst currents during IR transmissions for consistent performance.


What You Can Automate

  • TV power/input selection, AV receiver mode & volume

  • AC, fans, projectors, LED strips with IR remotes

  • One-tap scenes (e.g., “Sleep,” “Gaming,” “Kids”) and voice control via Home Assistant


Assembly & Bring-Up (Overview)

  1. Populate the power capacitors on 5 V and 3.3 V rails and the local decoupling at the receiver and controller.

  2. Install the IR receiver module and IR emitters (observe polarity).

  3. Assemble the transistor switch with appropriate gate/base network and a pulldown to keep the stage off at boot.

  4. Flash firmware (ESPHome). Learn remote codes, map them to scenes, and enjoy.

Pro tip: During transmit, temporarily pause the receiver to avoid self-captures; resume after a short delay.

For resistors you can use different values depending on how much power you want to transmit through the LEDs.

LED Resistors Total LED Current Required Base Resistor Performance
220Ω ~50 mA 470Ω Standard
100Ω ~100 mA 220Ω High Power
75Ω ~132 mA 180Ω or 200Ω Max Power

Troubleshooting

  • No captures: Ensure the receiver is powered at 3.3 V and idles high; confirm the IR output signal reaches the controller’s receive line; try inverting the logic in software once (modules differ).

  • Short range: Verify bulk decoupling on the 5 V LED feed, check emitter polarity, and consider stronger output (within pulsed current ratings). Keep wiring short and grounds stout.

  • Inconsistent boot: This design avoids strap-pin conflicts on the ESP32-C3; if hand-modding, ensure IR lines aren’t tied to boot-strap pins.


What’s Included / Sold Separately

  • Included: Bear PCB (components should be purchased separately) (see product options).

  • Sold separately: Firmware (ESPHome YAML) and detailed wiring/schematic package, with updates and examples.