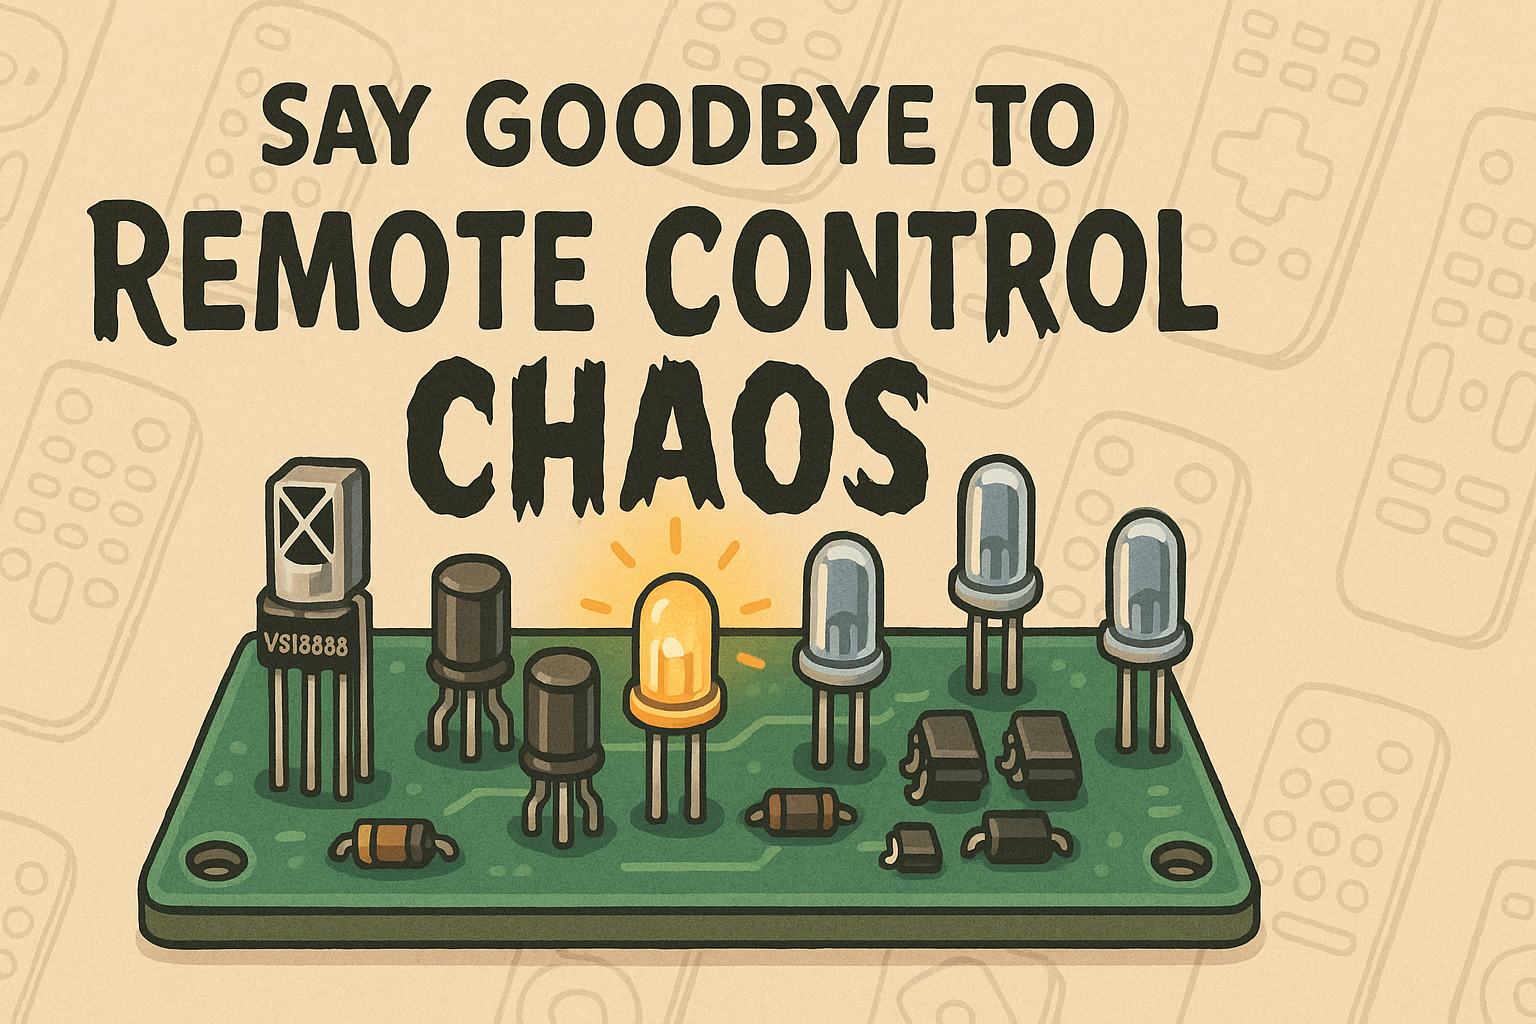
Take a look at your coffee table. How many remote controls do you see? There’s one for the TV, one for the soundbar, another for the streaming box, and maybe a fourth for the air conditioning unit. It’s a frustrating juggling act we’ve all come to accept—the endless search for the right remote, the clutter, and the inconvenience.
But what if you could replace that entire pile with a single, sleek, and intelligent device that you built yourself?
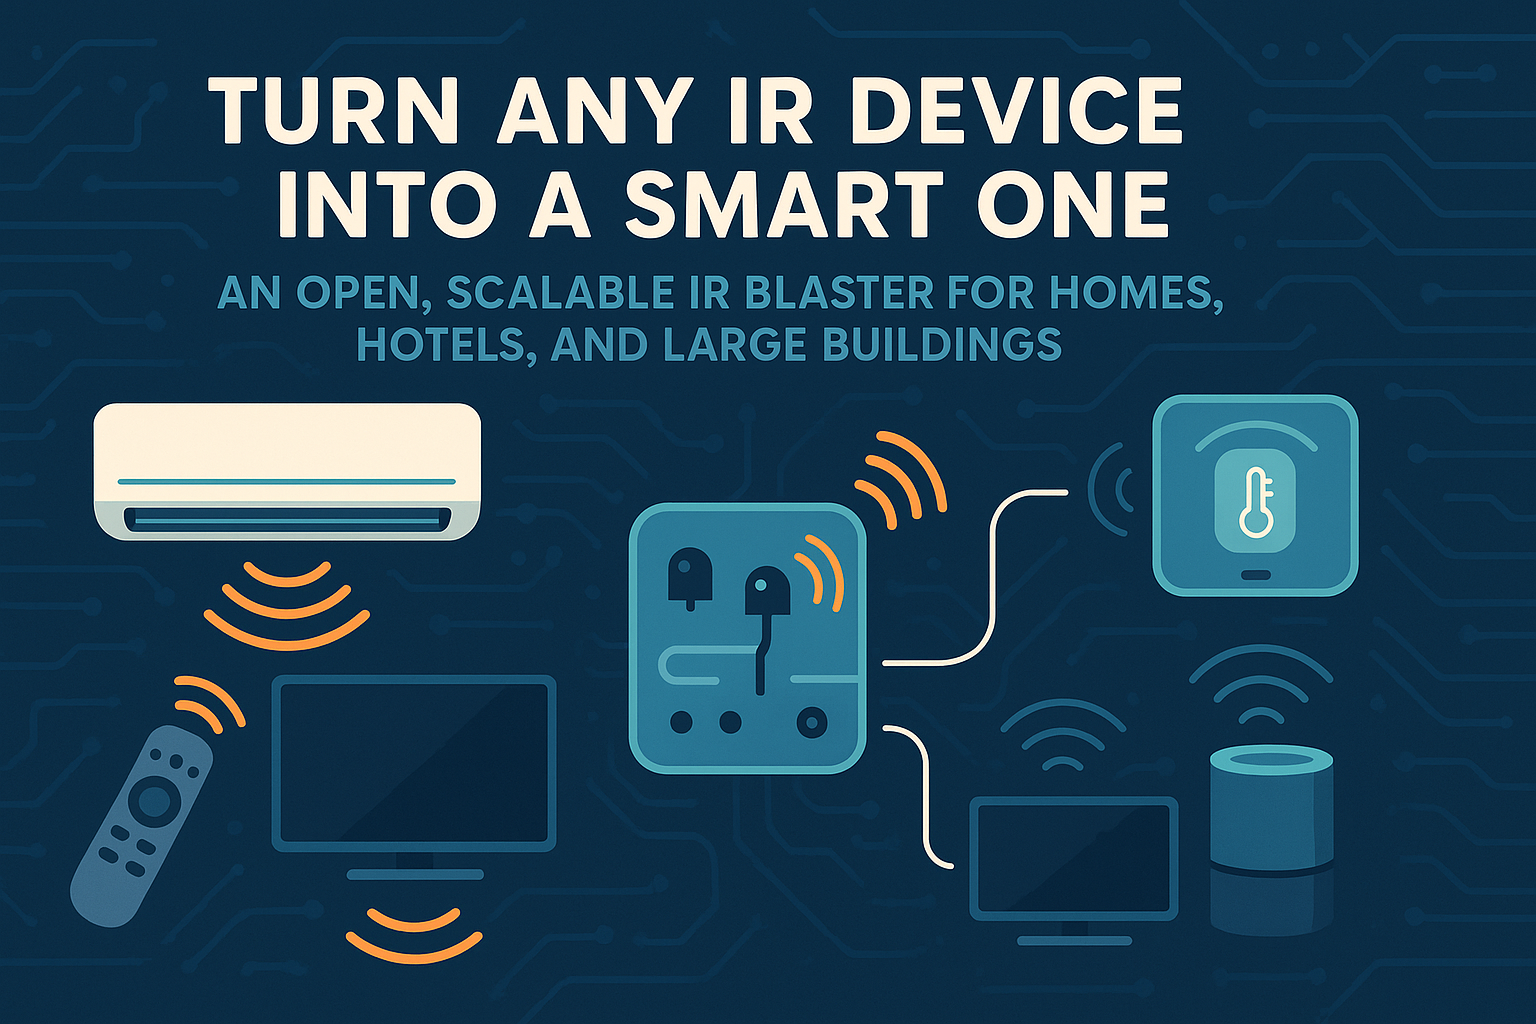
Introducing the DIY Smart IR Blaster—a powerful, endlessly customizable solution that brings all your infrared-controlled devices into your smart home ecosystem. This project isn't just about replacing remotes; it's about fundamentally changing how you interact with your home.
One Blaster to Rule Them All: The Power of Centralized Control
The concept is simple but incredibly powerful. An IR blaster, powered by a Wi-Fi-enabled microcontroller like the ESP8266, can learn, store, and transmit any infrared signal. By placing one of these compact units in a room, you gain the ability to control everything that uses a traditional remote, all from your phone, a smart home dashboard, or through voice commands.
The Living Room Command Center This is where the magic truly begins. Imagine a "Movie Night" scene in your Home Assistant dashboard. With a single tap, the IR Blaster orchestrates your entire home theater:
-
It powers on your TV and switches it to the correct HDMI input.
-
It turns on your AV receiver and sets it to the surround sound profile.
-
It activates your set-top box or media player.
-
It even dims your separate, IR-controlled mood lighting to the perfect level.
No more fumbling for three different remotes in the dark. Just one command, and your environment is set perfectly.
Automate Your Comfort in Every Room The utility of an IR Blaster extends far beyond entertainment. By placing a unit in your bedroom or office, you can integrate older, "dumb" appliances into your smart home routines.
-
Air Conditioning & Fans: Is the room too warm? Tell Google Assistant to turn on the AC without getting out of bed. Automate your fan to turn on and off based on the room's temperature.
-
Space Heaters: Safely control your space heater to pre-warm a room before you enter.
-
Older Stereos: Bring that vintage hi-fi system back to life by controlling it from your phone.
With a small, affordable IR Blaster in each room, you can achieve whole-home control over every device that has an infrared remote, creating a seamlessly integrated and intelligent living space.
Why Our Design? A Technically Superior Foundation
While there are many DIY IR blaster guides, our schematic is engineered for reliability, range, and flexibility. We've made specific component choices to ensure your final build is a professional-grade smart home tool, not just a science experiment.
-
High-Power Emitter for Room-Wide Coverage: A standard GPIO pin on an ESP8266 can't supply enough current to drive an IR LED effectively, resulting in poor range. Our design uses a 2N2222 transistor as a switch, allowing the LED to draw significantly more power directly from the 5V rail. This ensures a powerful, wide-angle signal that floods the entire room, so you don't have to worry about precise positioning.
-
Capture Any Remote with the Onboard Receiver: This isn't just a blaster; it's a learner. The integrated TSOP38238 IR receiver allows you to capture and store the signals from any of your existing remotes. This makes the setup process incredibly simple—just point your old remote at the device, press the button, and save the code.
-
Stable, Reliable Performance: The circuit includes a dedicated AMS1117-3.3 step-down converter and filtering capacitors. This provides the ESP8266 core with clean, stable power, protecting it from voltage fluctuations and ensuring consistent, crash-free operation 24/7.
-
Powered by a Proven Wi-Fi Microcontroller: The design is built around the ubiquitous ESP8266 or ESP8285, a powerful and reliable chip with a massive community. This allows for easy programming with tools like ESPHome, which integrates flawlessly with Home Assistant for a truly professional smart home experience.
Ready to Build? Your Journey Starts Here
Building your own Smart IR Blaster is one of the most rewarding DIY projects you can undertake. It solves a real-world problem and provides a foundation for endless automation possibilities.
-
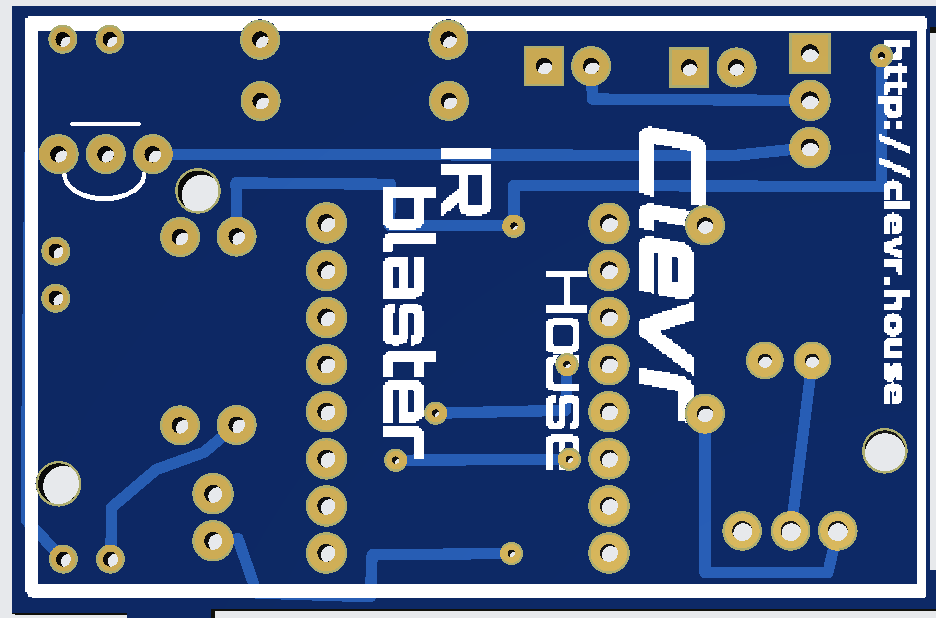
Get the Blueprint: The first step is to download our complete, easy-to-follow schematic. It includes the full circuit diagram and a detailed Bill of Materials (BOM) listing every component you'll need.
-
[View the Complete IR Blaster Schematic and BOM Here]
-
-
Order a Professional PCB: For a clean, reliable, and professional-looking final product, a custom-designed Printed Circuit Board (PCB) is essential. Our PCBs are designed to perfectly match the schematic, simplifying assembly and ensuring rock-solid connections.
-
[Browse and Order PCBs from Our Component Store]
-
-
Assemble and Unleash: Once you have your PCB and components, simply follow the schematic to solder everything in place. Flash the ESP8266 with your firmware of choice (we highly recommend ESPHome), and you'll be ready to take control of your home like never before.
Stop juggling remotes and start orchestrating your environment. Build your own Smart IR Blaster today and simplify your life.